Introduction
The holiday season is the perfect time to get crafty and add personal touches to your decor. Ribbon ornaments are an easy and affordable way to elevate your decorations, whether you’re sprucing up a tree, creating unique gifts, or designing festive centerpieces. In this guide, we’ll explore creative ribbon ornament DIY ideas, step-by-step instructions, and tips for choosing the right materials.
Table of Contents
1. Introduction
- Brief overview of the topic.
- Benefits of making ribbon ornaments.
- Mention the ease of crafting and affordability.
2. Why Ribbon Ornaments Are a Great Choice
- Discuss advantages (cost-effective, customizable, eco-friendly).
- Highlight their versatility for various decor styles.
3. Essential Supplies Checklist
- List of must-have tools and materials.
- Tips for selecting ribbons and embellishments.
4. Top DIY Ribbon Ornament Ideas (Step-by-Step)
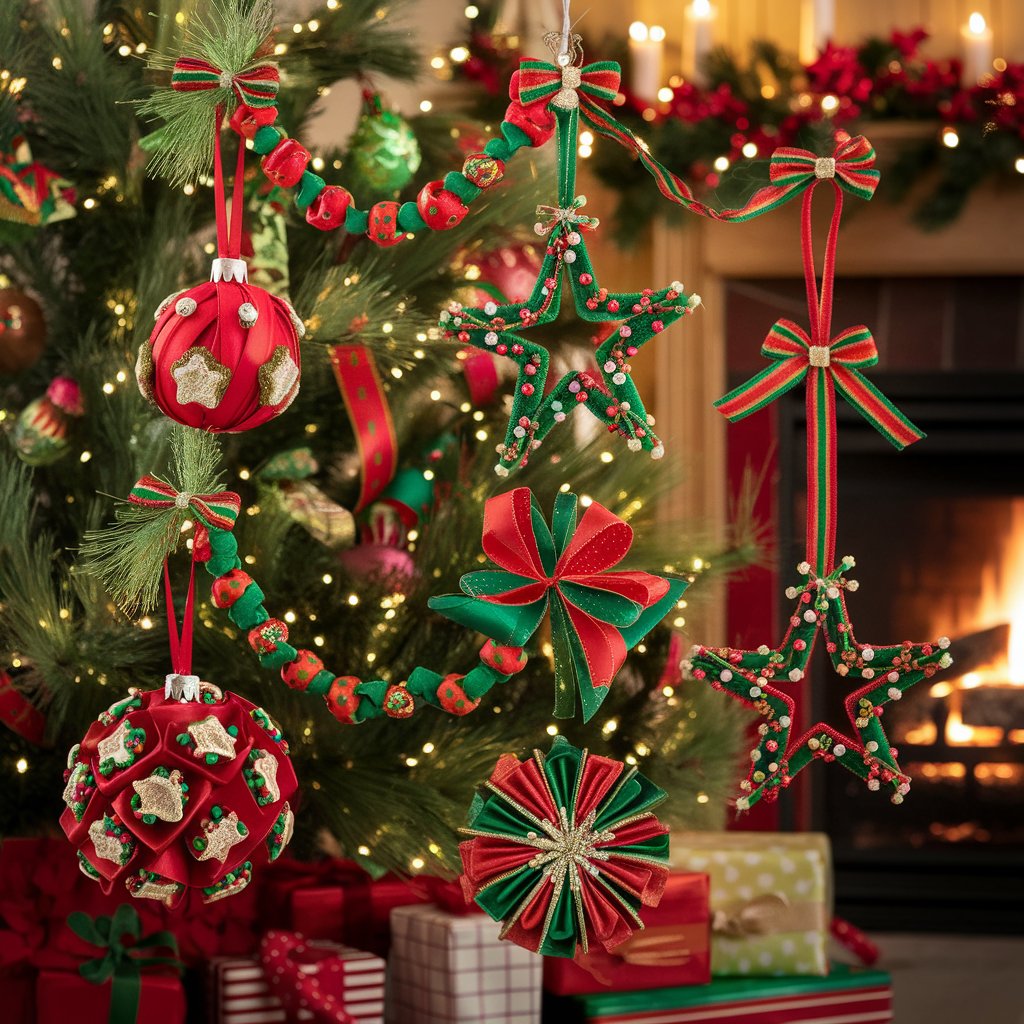
- Idea 1: Classic Ribbon Ball Ornament
- Idea 2: Layered Ribbon Star
- Idea 3: Bowtie Garland Ornament
- Additional suggestions (e.g., ribbon angels, tree toppers).
5. Pro Tips for Crafting with Ribbons
- Choosing the right type of ribbon (wired, satin, grosgrain).
- How to avoid common mistakes (e.g., ribbon fraying).
- Using layering techniques for unique effects.
6. Creative Ways to Use Ribbon Ornaments
- Decorating Christmas trees and wreaths.
- Adding to gift wrapping or as standalone gifts.
- Incorporating into holiday tablescapes.
7. Conclusion
Why Choose Ribbon Ornaments for DIY?
Ribbon ornaments are versatile and accessible to everyone, regardless of crafting experience. Here are a few reasons why they’re a great choice:
- Budget-Friendly: Ribbons are inexpensive and often reusable.
- Customizable: Choose colors, patterns, and textures that match your holiday theme.
- Eco-Friendly: Create lasting ornaments that reduce waste.

Essential Supplies for DIY Ribbon Ornaments
Before diving in, gather the essentials:
- Assorted ribbons (satin, grosgrain, velvet, or wired)
- Scissors
- Hot glue gun and glue sticks
- Ornament bases (foam balls, wooden shapes, or plastic spheres)
- Embellishments (beads, glitter, mini bells, etc.)
- Twine or hooks for hanging
Step-by-Step DIY Ribbon Ornament Ideas
1. Classic Ribbon Ball Ornament
What You’ll Need: Foam ball, satin ribbons, hot glue gun
Instructions:
- Cut ribbons into 4-6 inch strips.
- Loop the ribbon strips and secure them onto the foam ball with glue, covering it completely.
- Add embellishments like glitter or beads for extra sparkle.
- Attach a looped ribbon or twine to hang the ornament.
2. Layered Ribbon Star
What You’ll Need: Wooden star cutouts, wired ribbons
Instructions:
- Wrap wired ribbon around the star frame, securing ends with glue.
- Layer multiple ribbons for a textured effect.
- Finish with a small bow or bell in the center.
3. Bowtie Garland Ornament
What You’ll Need: Thin ribbons, string, beads
Instructions:
- Tie small bows using different colored ribbons.
- String the bows together, spacing them with beads.
- Create individual ornaments or a full garland.
Tips for Choosing the Perfect Ribbon
- Wired Ribbons: These hold shape well, ideal for structured designs.
- Patterns and Colors: Use holiday-themed ribbons like plaid, metallics, or polka dots.
- Layering: Combine textures (e.g., velvet with satin) for a dynamic look.
Where to Display Your DIY Ribbon Ornaments
- Christmas Tree: Use as standout decorations or fillers.
- Wreaths: Attach to add dimension and color.
- Gift Wrapping: Tie onto packages for a personalized touch.
- Table Centerpieces: Group ornaments in bowls or vases for a festive display.
Conclusion
Creating ribbon ornaments is an enjoyable and rewarding way to celebrate the season. These versatile crafts add personality to your decor and make heartfelt gifts. Start your DIY journey today and bring the magic of ribbon ornaments into your home!